

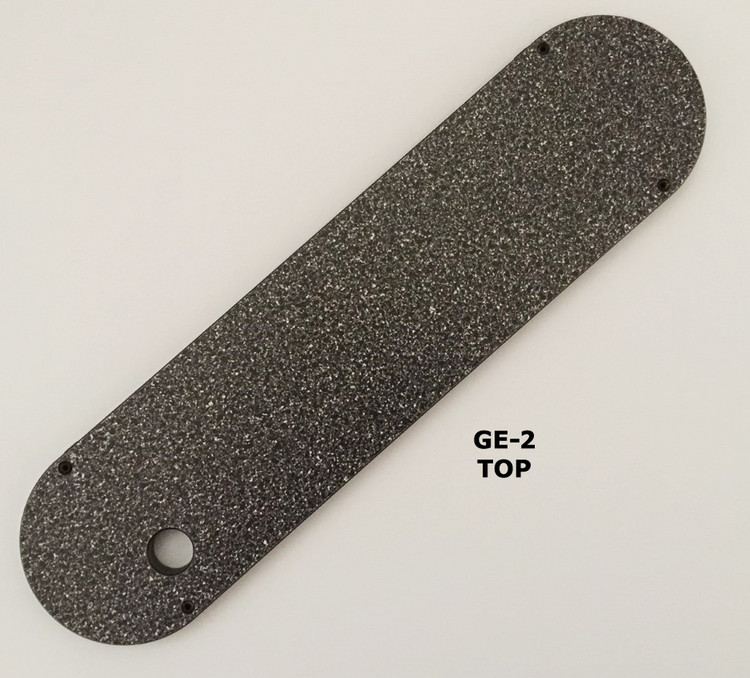
Zero-Clearance Inserts Zero-Clearance Inserts General #GE-2 Leecraft Zero-Clearance Table Saw Insert 14-31/32"L x 3-23/32"W

Find the Leecraft Zero-Clearance Insert for your General Table Saw
Model GE-1 13-13/16"L x 3-1/2"W x 3/8"T - Fits General models 350 (Right Tilt), 650 (Left Tilt)
Model GE-2 14-31/32"L x 3-23/32"W x 3/16"T - Fits General International 50-220, 50-090K
Model GE-3 12-9/16"L x 3-9/16"W x 3/8"T - Fits General International models 50-075, 50-175, 50-185, 50-250, 50-260
Model JT-7 14"L x 4-1/8"W x 1/2"T - Fits General model 50-090R M1 (With Riving Knife)
Model JT-8 14"L x 4-1/8"W x 1/2"T - Fits General model 50-090R M1 (Without Riving Knife)
For step-by-step installation video CLICK HERE
#GE-2 Leecraft Zero-Clearance Table Saw Insert fits GENERAL International: 50-220, 50-090K; JET: 10" Workshop Table Saw # JWTS-10(Stock #708100), OLDER VERSION of JPS-10 Pro-Shop, JPS-10TS - (Stock #708481, 708482, 708483, 708480K)
Use MicroJig MJ Splitter Kits for added table saw safety. Available in THICK or THIN kerf they are easily installed and simple to align. Not for use with Leecraft inserts that already have the riving knife slot cut in. Intended for inserts WITHOUT the riving knife slot.
INSTALLING AND FITTING YOUR INSERT
(Note: This insert does not require the front hold-down screw utilized on your original factory insert.).
- Lower the blade completely.
- Place insert in throat opening with finger hole towards operator and starter pocket located over blade. Back end of insert must be placed in first, allowing anti-lift tab to slide under the cast iron ledge.
- Using 3/32 Allen (hex) wrench, run leveling screws down until insert is stable and flush with table top.
- Back out front end-adjustment screw and side adjustment screw to achieve a fit that is snug, yet removable.
- SPLITTER: If your saw has a splitter, you will need to cut a slot at the rear of the insert to accommodate it. Trace the outline of the slot from your original metal insert, and cut with bandsaw or hacksaw. Leave the bridge between the splitter slot and the blade slot as thick as possible.
CUTTING THE BLADE SLOT (KERF)
- Check that insert is fitted properly, and that blade is clear. Using a stick, reach under the table and rotate the blade manually to check for blade clearance.
- Fully cover the insert with a board, and clamp at each end to the table saw top.
- Re-connect power to saw. Switch on, slowly and cautiously raise blade up, to cut its way through the insert. KEEP HANDS OFF OF TABLE TOP, STAY CLEAR AND WEAR GOGGLES. Raise blade to maximum height at this time.
- Lower blade, turn off saw, and remove board. Your insert is now ready for use!
IMPORTANT TIPS FOR USE
- Only recommended for use with carbide tipped cutters.
- DADO BLADE - Use same procedures outlined above, but use additional caution due to excessive material being machined from insert during the slotting procedure.
- Under certain conditions, an undesirable scraping noise may be generated by your saw blade. Planer type blades and/or excessive arbor run-out, and/or blade distortion, may be causing intermittent contact with the insert slot. To remedy this, remove the insert and slightly widen the slot using a file or sanding paddle.
- Ideally, a separate insert should be used with each blade, dado stack, or angle set-up. This will insure a true "zero-clearance" effect and give you maximum benefit from your inserts.
See our Application Chart, or Contact Us for expert advice
